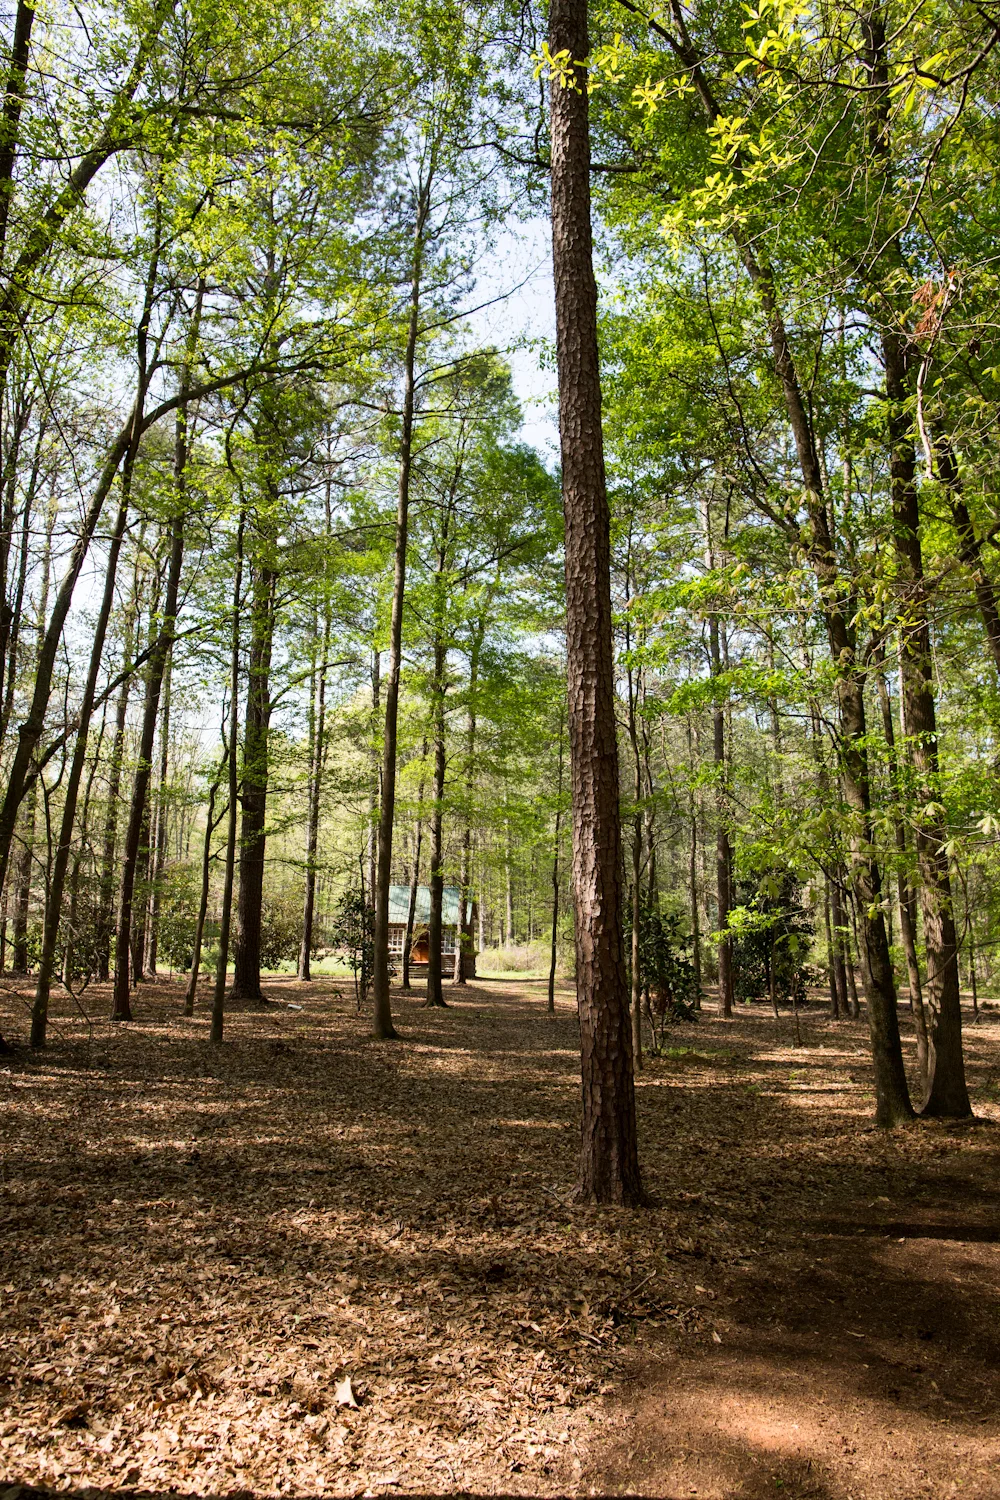
photo by kristen bach
spring shadows
in Daily Beauty
sign up to receive beautiful updates & brighten up your life.
We respect your privacy and will not mail out too often.
photo by kristen bach
i passed this one the other day. it's wrapped in wisteria starting to bud,so i may have to go back and take a pic when it's covered in lilac blooms!
photos and words by rebecca wood
photograph by rinne allen
a few weeks ago i shared some exterior shots of our explorations at fort pickens. today i wanted to share some more views of the interior. i loved the different patinas, shapes, arches, and tunnels throughout. enjoy!
photos and words by kristen bach
photograph by rinne allen
i walked up to the athens farmer's market this week, mainly to get some flowers. 3 porch farm is really rocking it out with flowers this year, and it isn't even may yet!
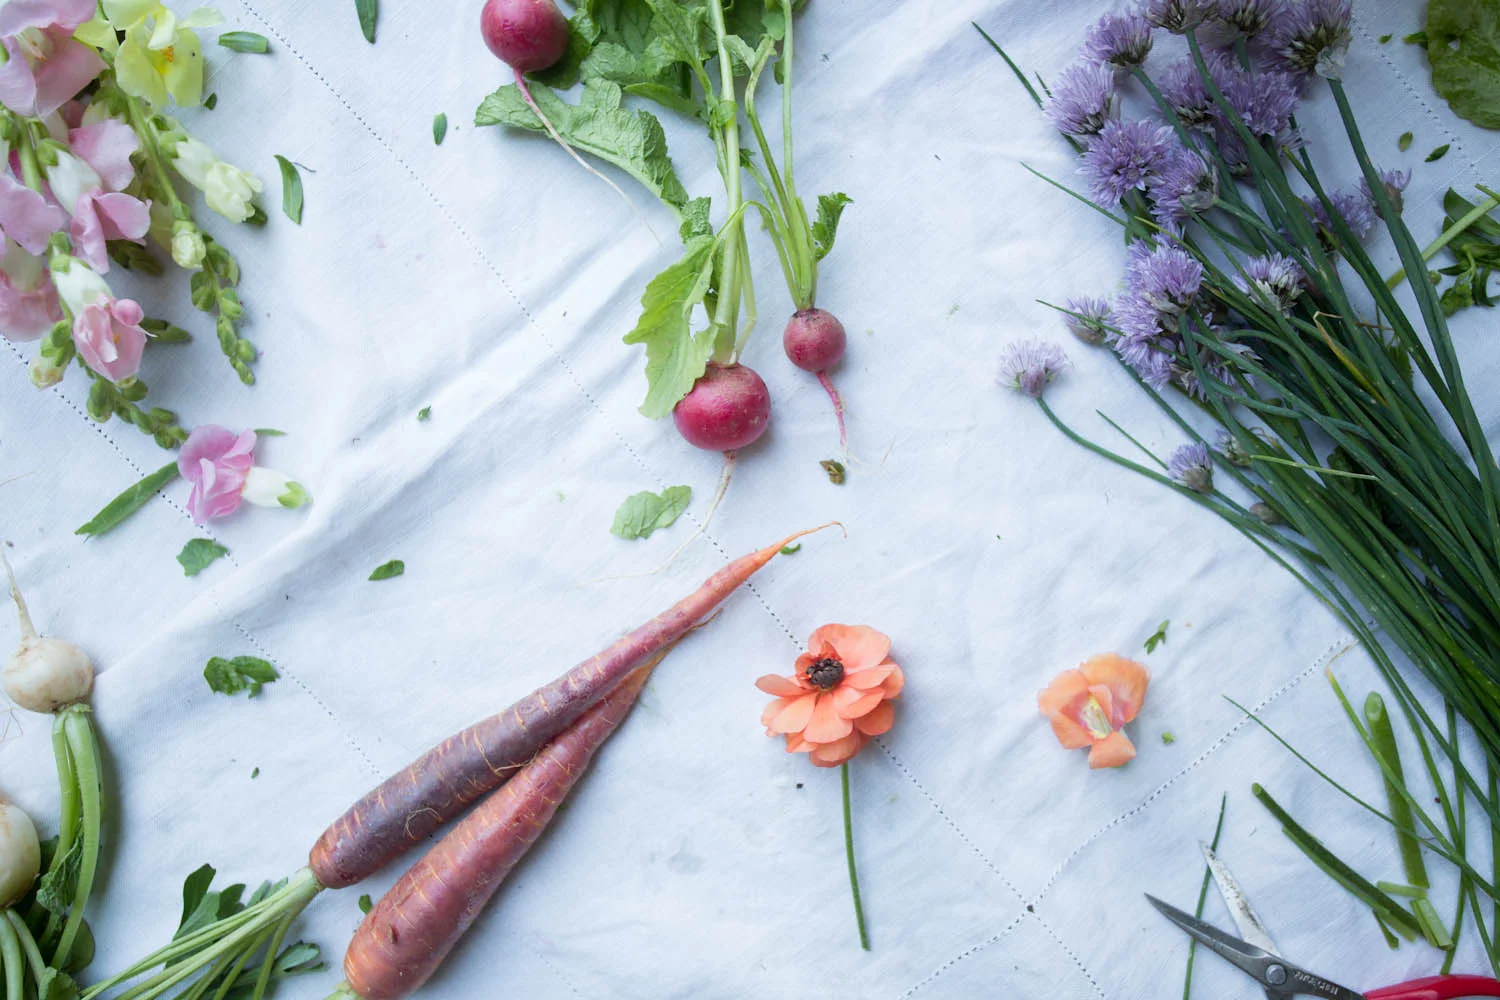
i wanted to see if i could make a pretty arrangement with a bundle or two of their flowers, just to show how easy it can be to have fresh flowers in your home. once i was at the market though, a few other things called my name...flowering chives, but also carrots & radishes because they shared the palette of mandy & steve's ranunculus.
here is what i brought home:
2 bunches of ranunculus, one snapdragon, one bunch of flowering chives, + carrots and radishes.
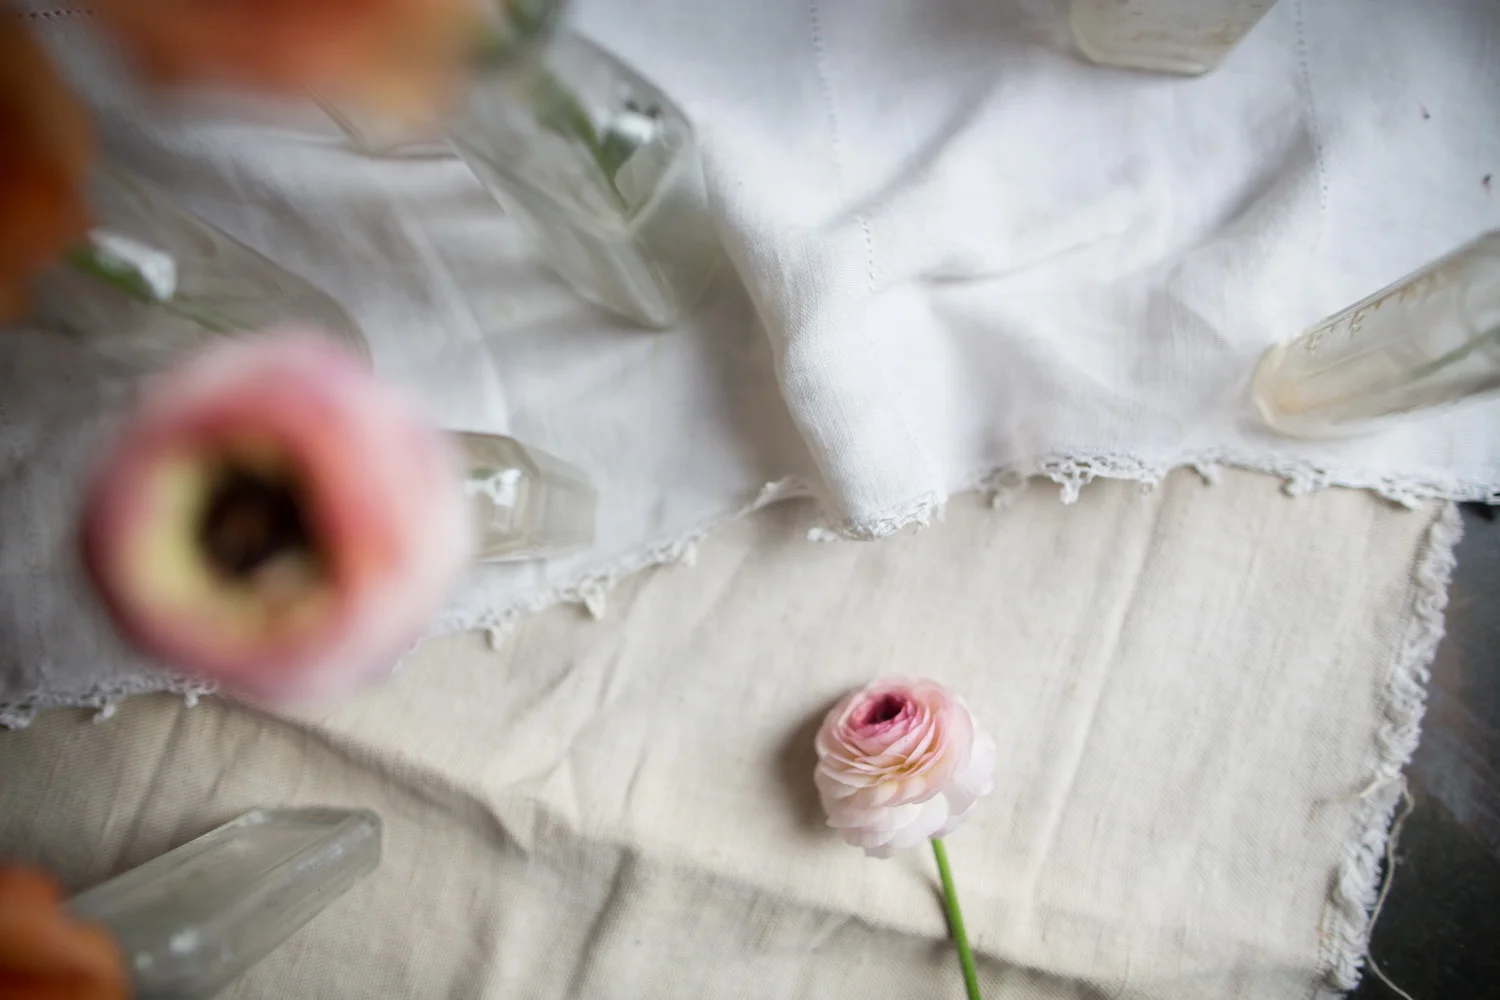
i started *really* simple. i cut a few flowerheads short and tucked them into some vintage apothecary jars.
so simple!
then, i did one of beauty everyday's famous old-medicine-bottle-arrangements. these bottles are one of our favorite things to pick up at junk stores. they are so beautiful...
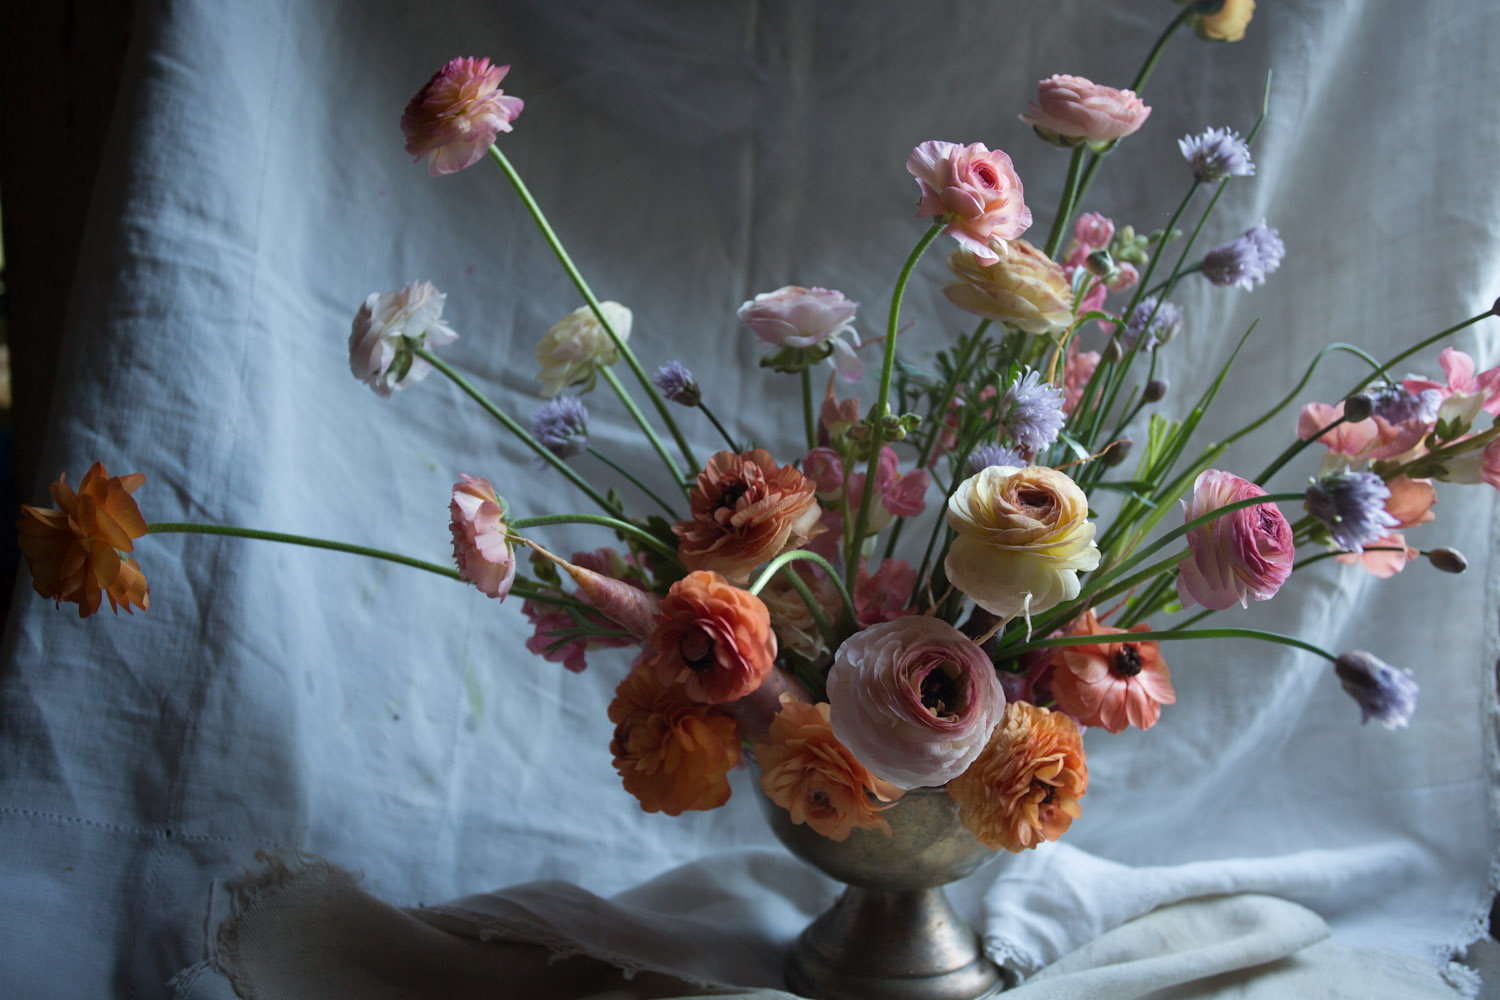
then, i moved to something more advanced...tips follow the next few photos...
i used a brass thrift store vase from mandy, that already had a ball of chicken wire crunched up in it. chicken wire is a great alternative to using flower arranging oasis, which is not good for the environment. you may also tape off a grid across the top of your vase, to support your flower stems, if you do not have chicken wire.
next, i took some of my ingredients and placed them in for shape. you will notice that i tucked in some of the carrots and radishes too, some with tops out, or some with the tops tucked in...the flowers are so beautiful that you hardly need to do anything to them.
this was such a fun exercise...t
his weekend, go visit your market or corner store and see what ingredients you can find...!
arrangements and photographs by rinne allen
photograph by rinne allen
i spent time with our friend amanda in her kitchen a few weeks ago...we have been trickling out recipes from our day together these last few weeks, and today i wanted to share a simple recipe we nibbled on while we worked: homemade butter. amanda found this recipe on sparkle stories' blog, fyi...
homemade butter
makes about 8 ounces
- 2 cups heavy cream
- 4 tablespoons yogurt or buttermilk
- 1 tablespoon salt
and,
this butter goes so well with this divine bread from my new roots...click here to see the recipe...enojy!
photographs by rinne allen, recipes from sparkle stories & my new roots, via amanda kapousouz
photograph by rinne allen
while we were camping in Florida, my daughter wanted to take a picture of the stars with her camera. it brought on a lesson of slow shutter speed..... here are some shots of us looking up...and slowly capturing the moment.
photos and words by kristen bach
photo and words by kristen bach
while driving home from florida we passed small town after small towns seeing hundreds of closed up shops. while driving by this one, i caught a glimpse of the interior color and had to turn around. this beauty of a building was aging with a lovely patina of peeling paint and great colors. a charming artist studio waiting to happen.
photos and words by kristen bach
photograph by rinne allen
i recently visited the studio of nettles & french, aka paige french and eve nettles. the two friends partnered last fall- eve is a sculptor and paige a photographer- and they have released a series of prints based on their creative collaborations.
their studio is situated out at the hill in an old shack (you know we love shacks around here, and here, and here). it is a simple, one room space with just the right amount of room for working out ideas.
words and photographs by rinne allen
photograph by rinne allen
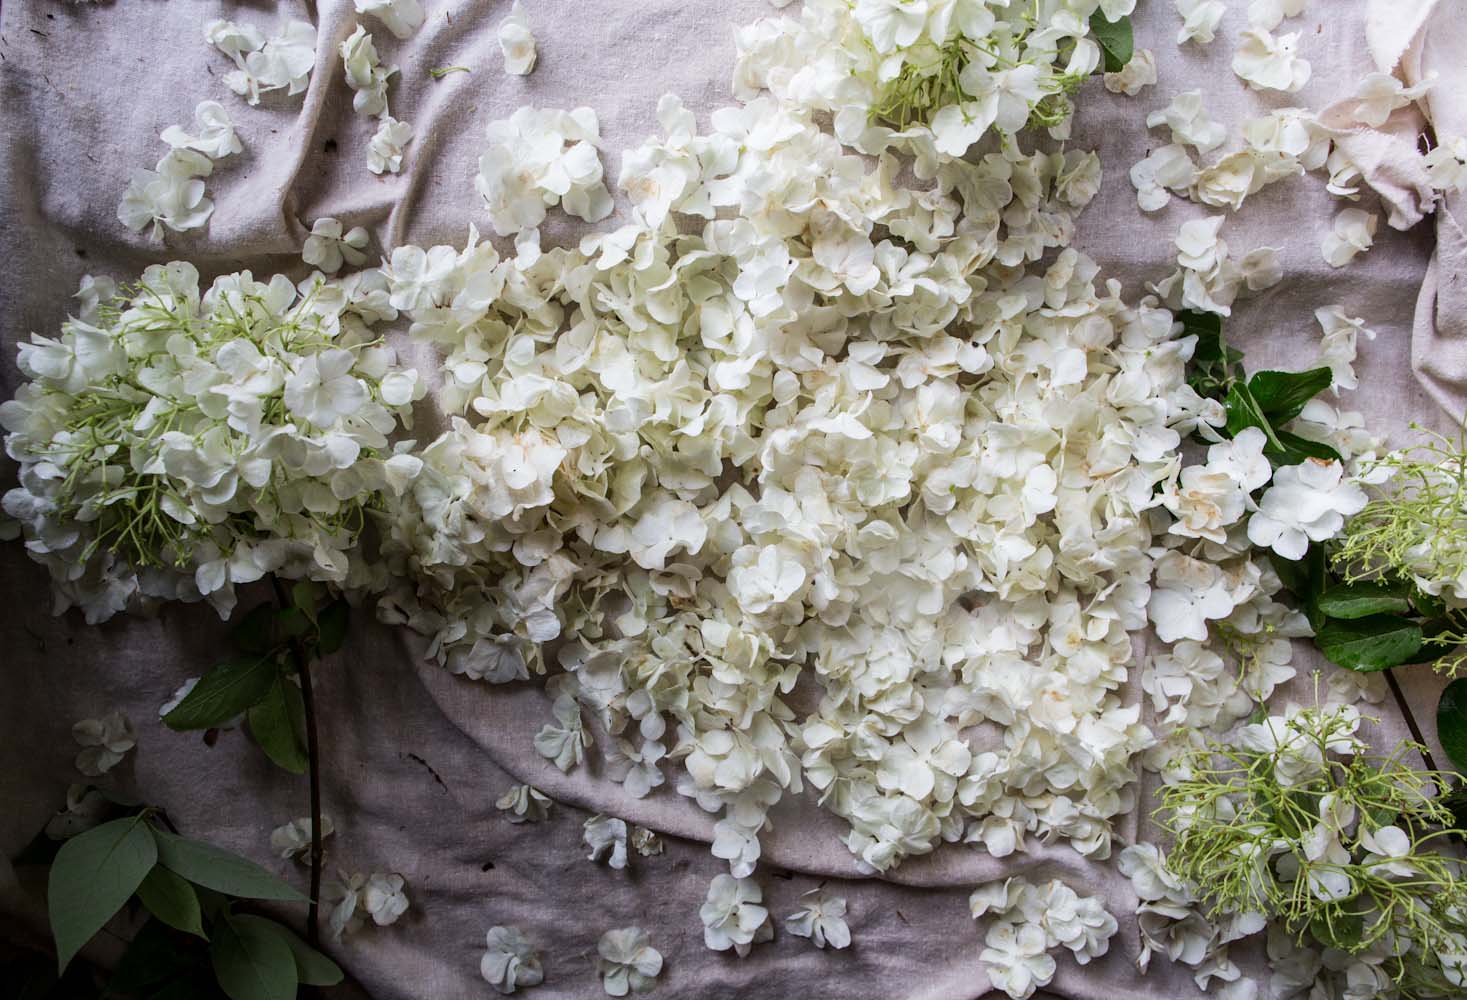
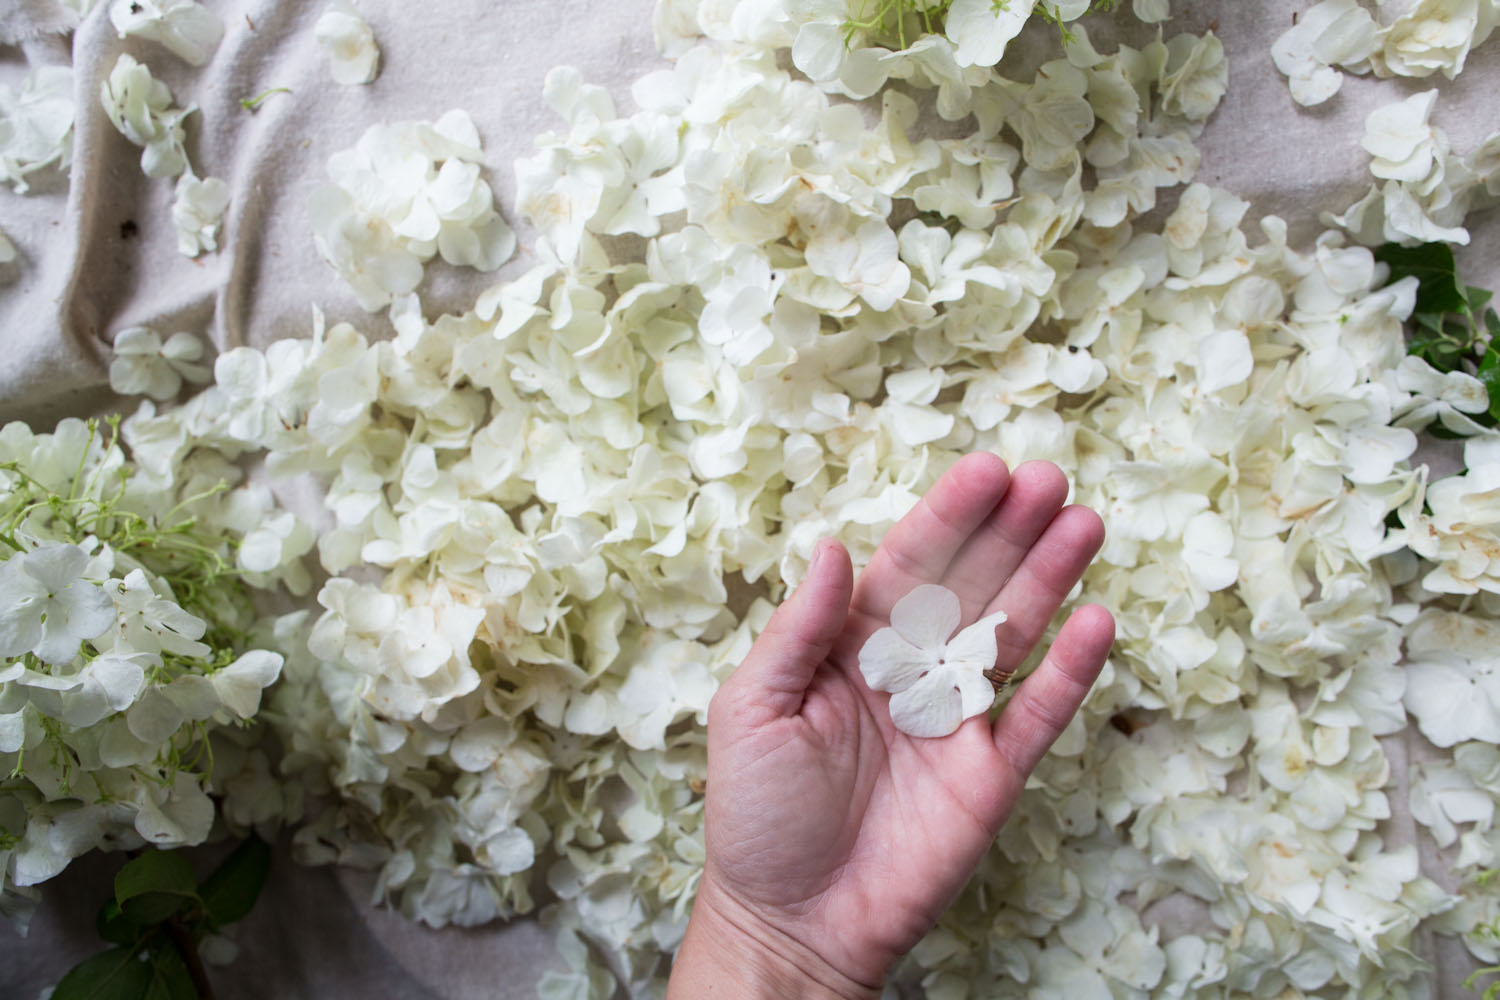
we have been photographing this viburnum and giving away cuttings all spring...it has been so full this year!
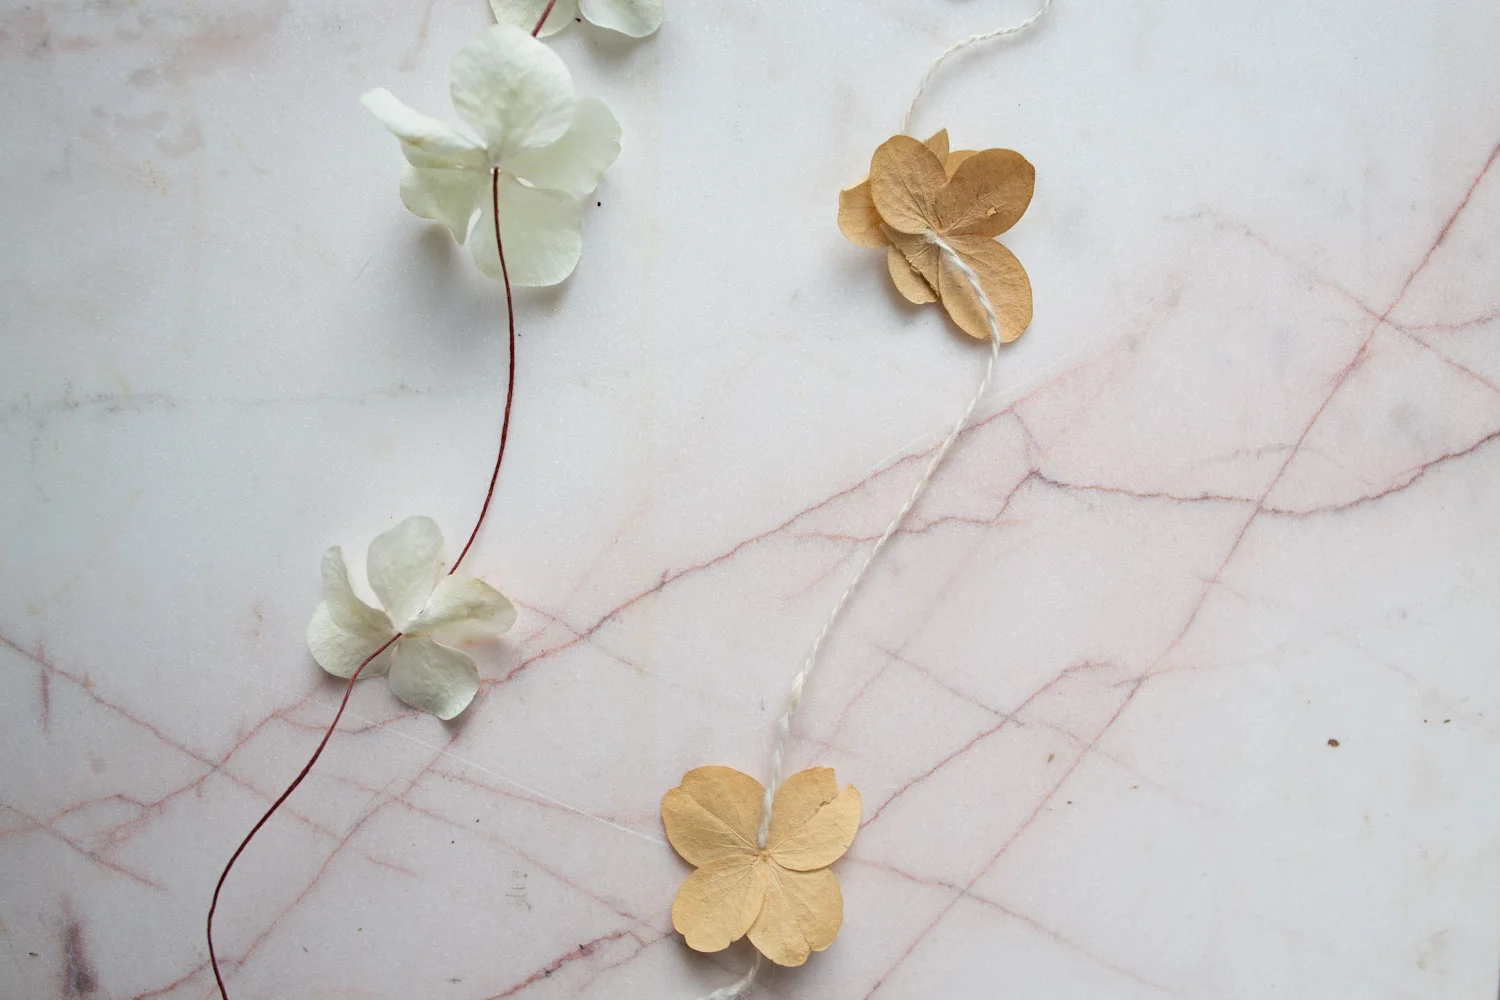
instead of showing an arrangement with it, i thought i would show you something fun you can do to preserve it...
years ago, i strung some hydrangea flowerheads on some string and hung them in my studio to dry. they are still beautiful all these years later. at the time, i threaded a needled with some alpaca yarn that i had from a friend...but, when i was getting this post ready, i had some waxed string on hand and noticed that its diameter almost matched that of the viburnum flower...no need for a needle, since the waxed thread has a good stiffness. just take the flowerhead gently in your hand and poke the waxed thread through the existing hole in the center of the flower...it is that easy!
and, people often confuse viburnmum for hydrangea as they look so similar...you may do this with hydrangea, or really any flower where the petals meet in the center like this...i love stringing whole marigolds like this in summer, as it reminds me of a trip to india long ago.
it is almost meditative sitting and threading these petals. and, once dry, you will be able to enjoy them for years.
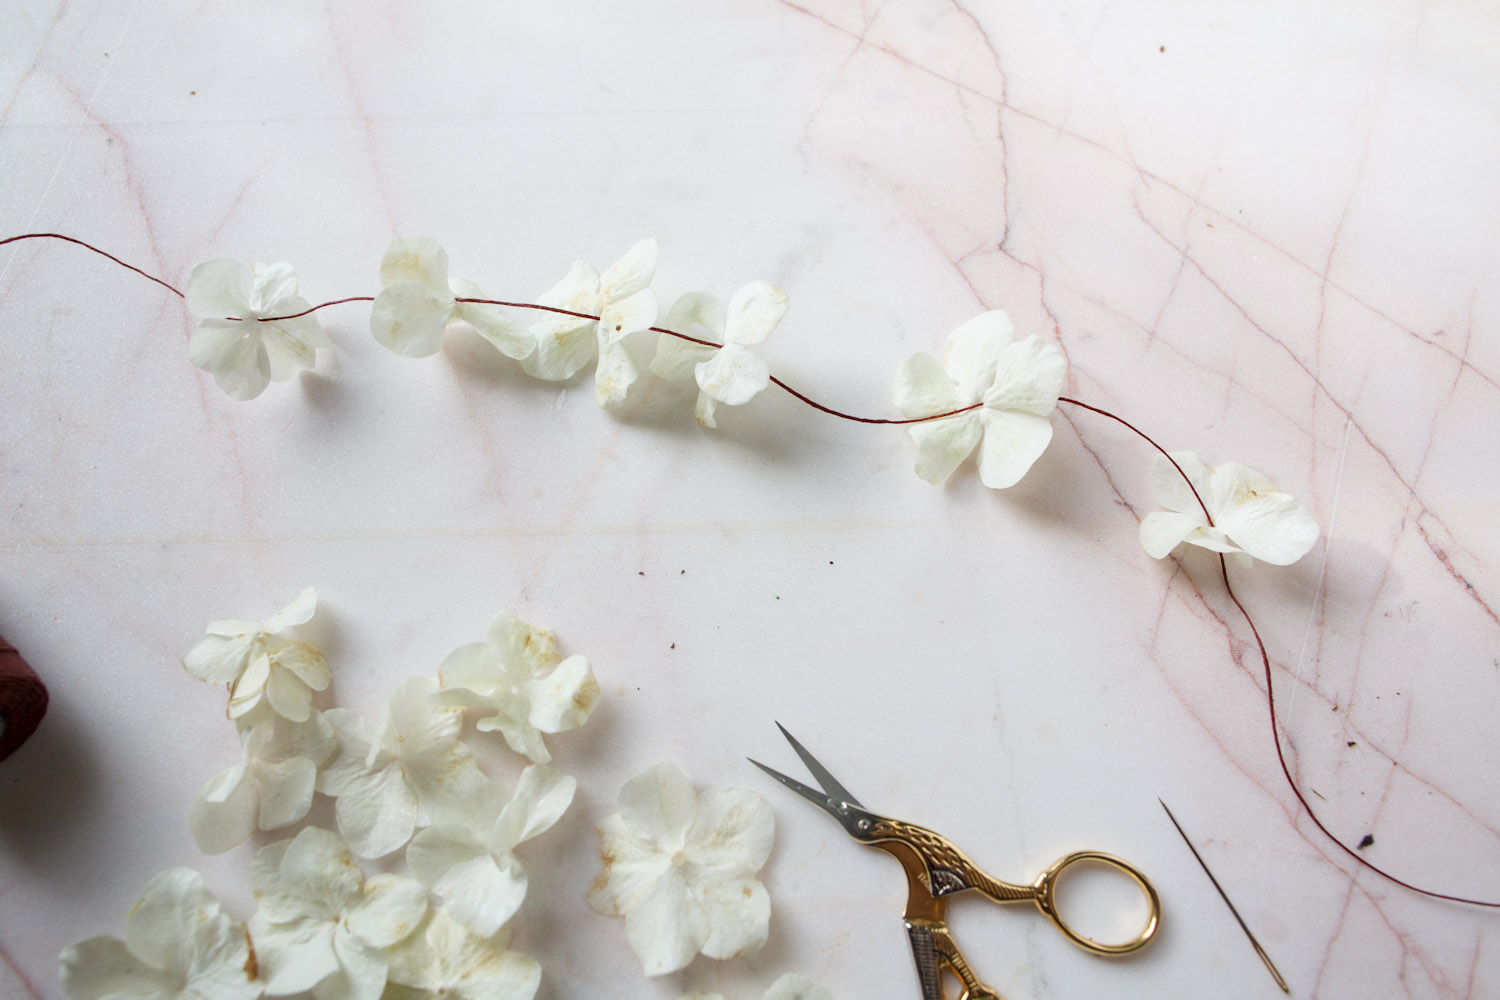
project & photographs by rinne allen
photo by kristen bach
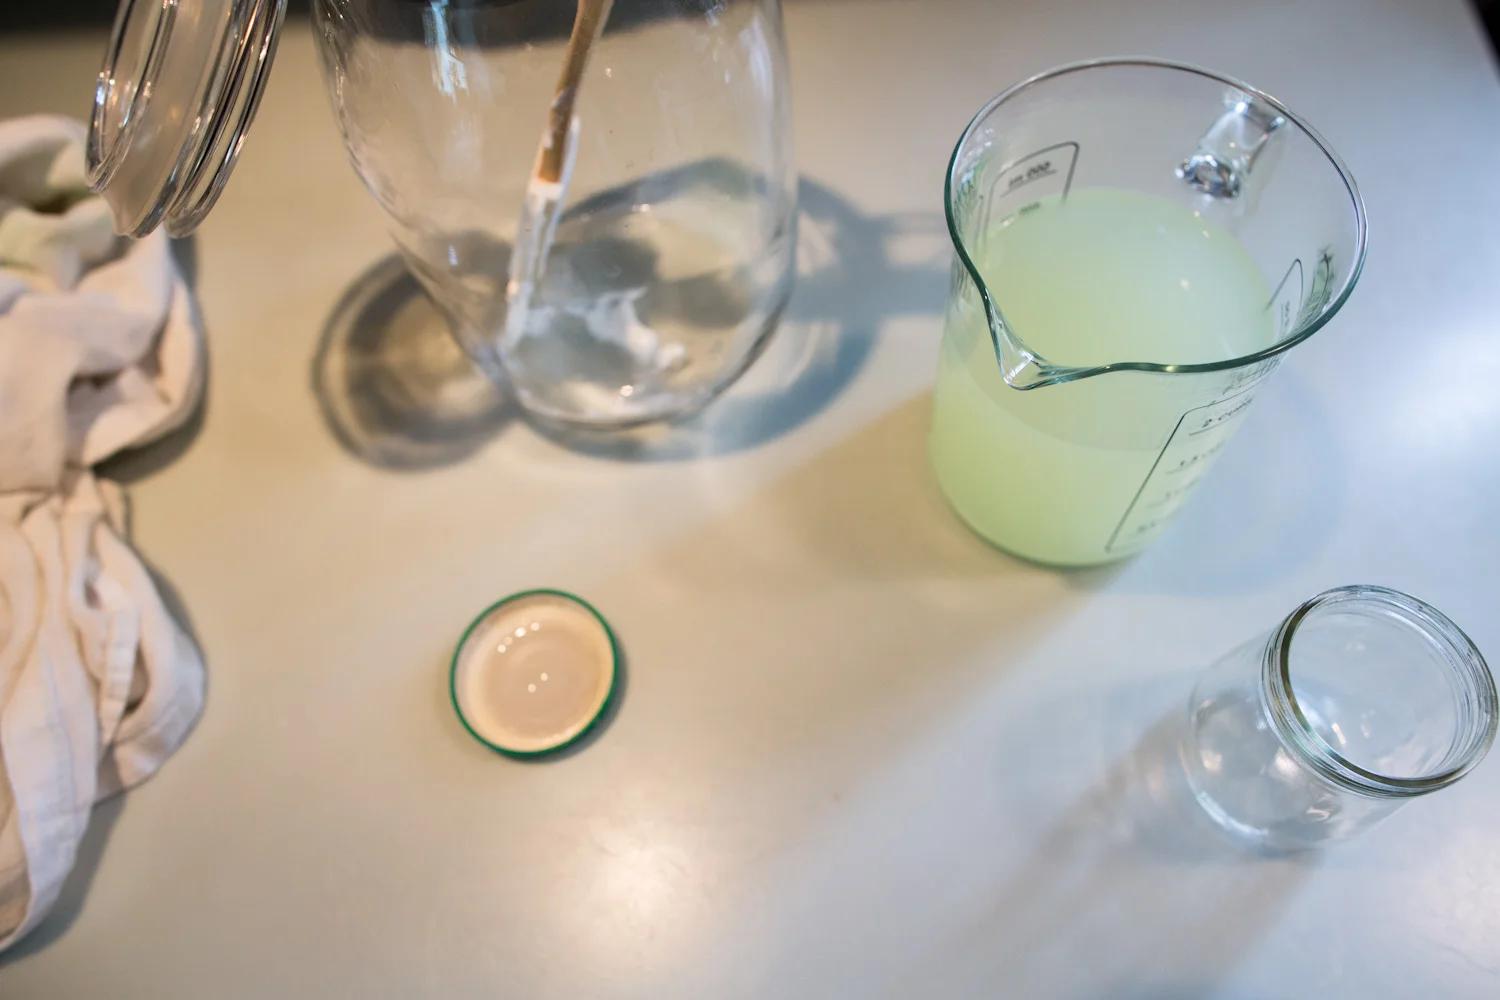
last week, we featured the recipe for our friend amanda's kombucha...this week she shares her yogurt recipe with us, and a good use for the whey (a side-effect of making yogurt...).
ENJOY!
amanda's crock pot yogurt
makes 1/2 gallon
- 1/2 gallon whole milk (local if you can). homogenized or non-homogenized
- 2 TBSP plain yogurt 'starter' (good quality recommended- make sure it says 'live active cultures'
in ingredients)
- food grade thermometer
- pour the entire 1/2 gallon of milk into your crock pot and turn on high. heat milk until it reaches between 160*-180*. (i aim for 180*) it will begin to froth at this point.
- take the ceramic pot out of the heating container and prop the lid off to allow the milk to cool. take your starter yogurt and let it sit out to come to room temp. cool milk to 110*. left alone on a counter, this will take about 30min-1hr. you may choose to cool the milk in an ice bath to speed things up.
- when the heated milk reaches 110*, ladle 1 cup of milk into a measuring glass. add 2 TBSP of starter yogurt and give it a gentle stir. pour this mixture back into the crock pot and do not stir. place the lid back on the crock pot. 2TBSP is enough to culture your heated milk! the starter needs the room to culture and using too much starter will result in a runnier yogurt.
- this next step will depend on what you have on hand. you want to keep your yogurt at 110 for about 12 hours. the longer the yogurt can sit still at this temp, the better it will culture. my crock pot came with an insulating bag, so i put it in there and then put the whole thing in my oven with the light turned on. *do not turn your oven on!* you may also wrap your crock pot in a towel or two and do the same thing, or you may wrap your pot, and place in an insulated cooler. the goal is to leave the yogurt undisturbed in a warm environment.
- after 12 hours, take your crock pot and tilt it toward you. (the yogurt should come away from the edge of the pot) place the pot in the refrigerator to allow the yogurt to set and firm up a little.
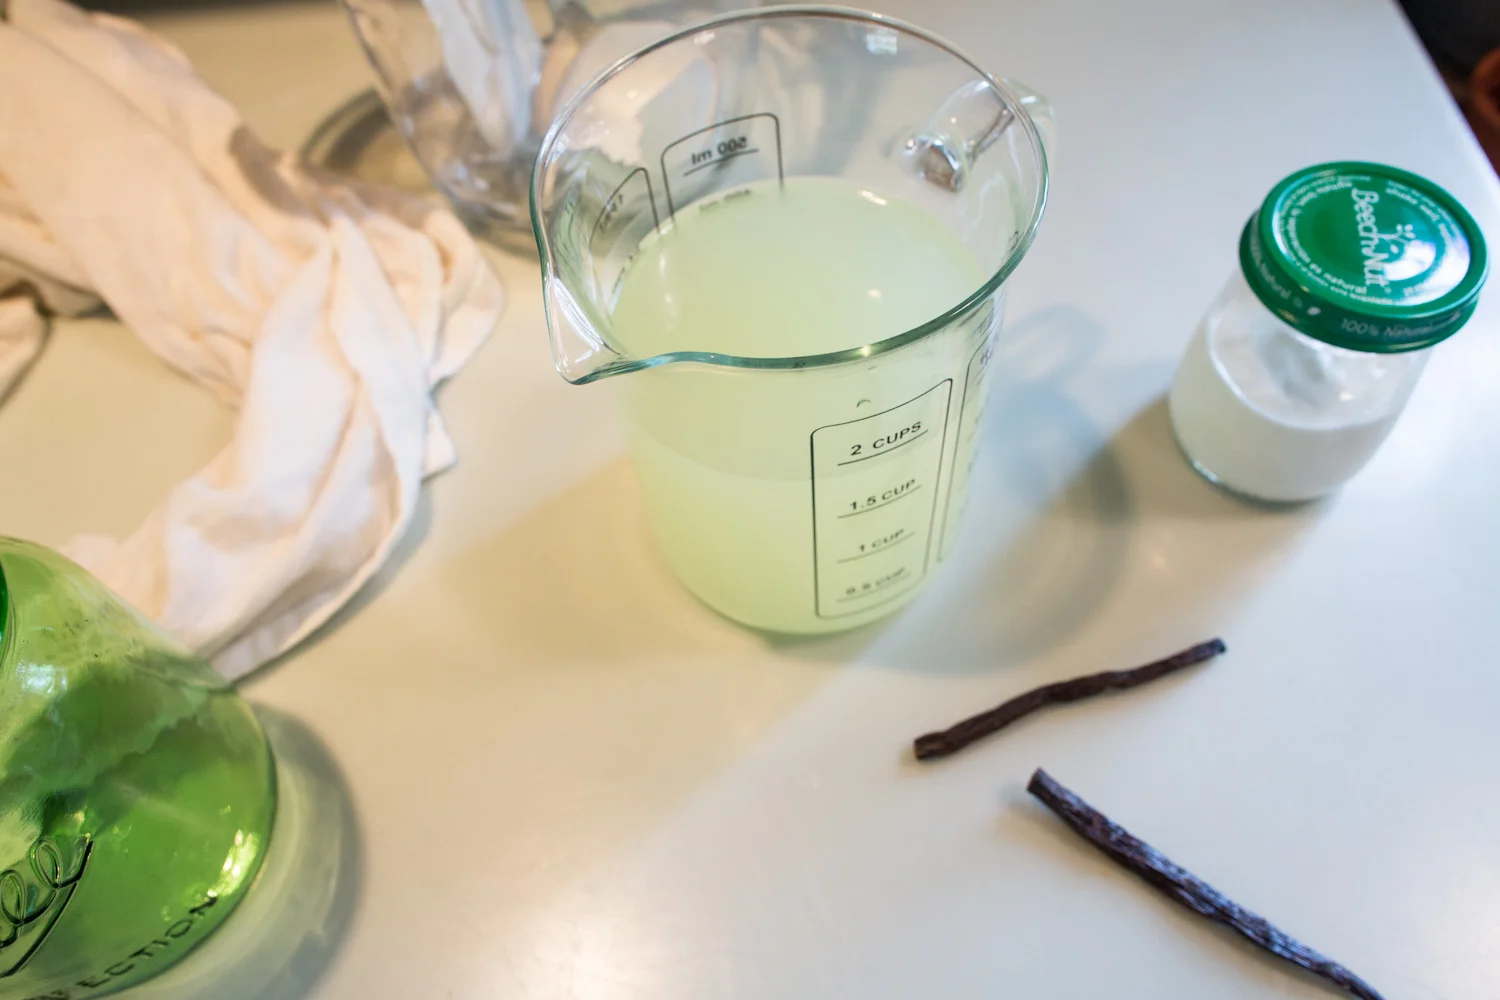
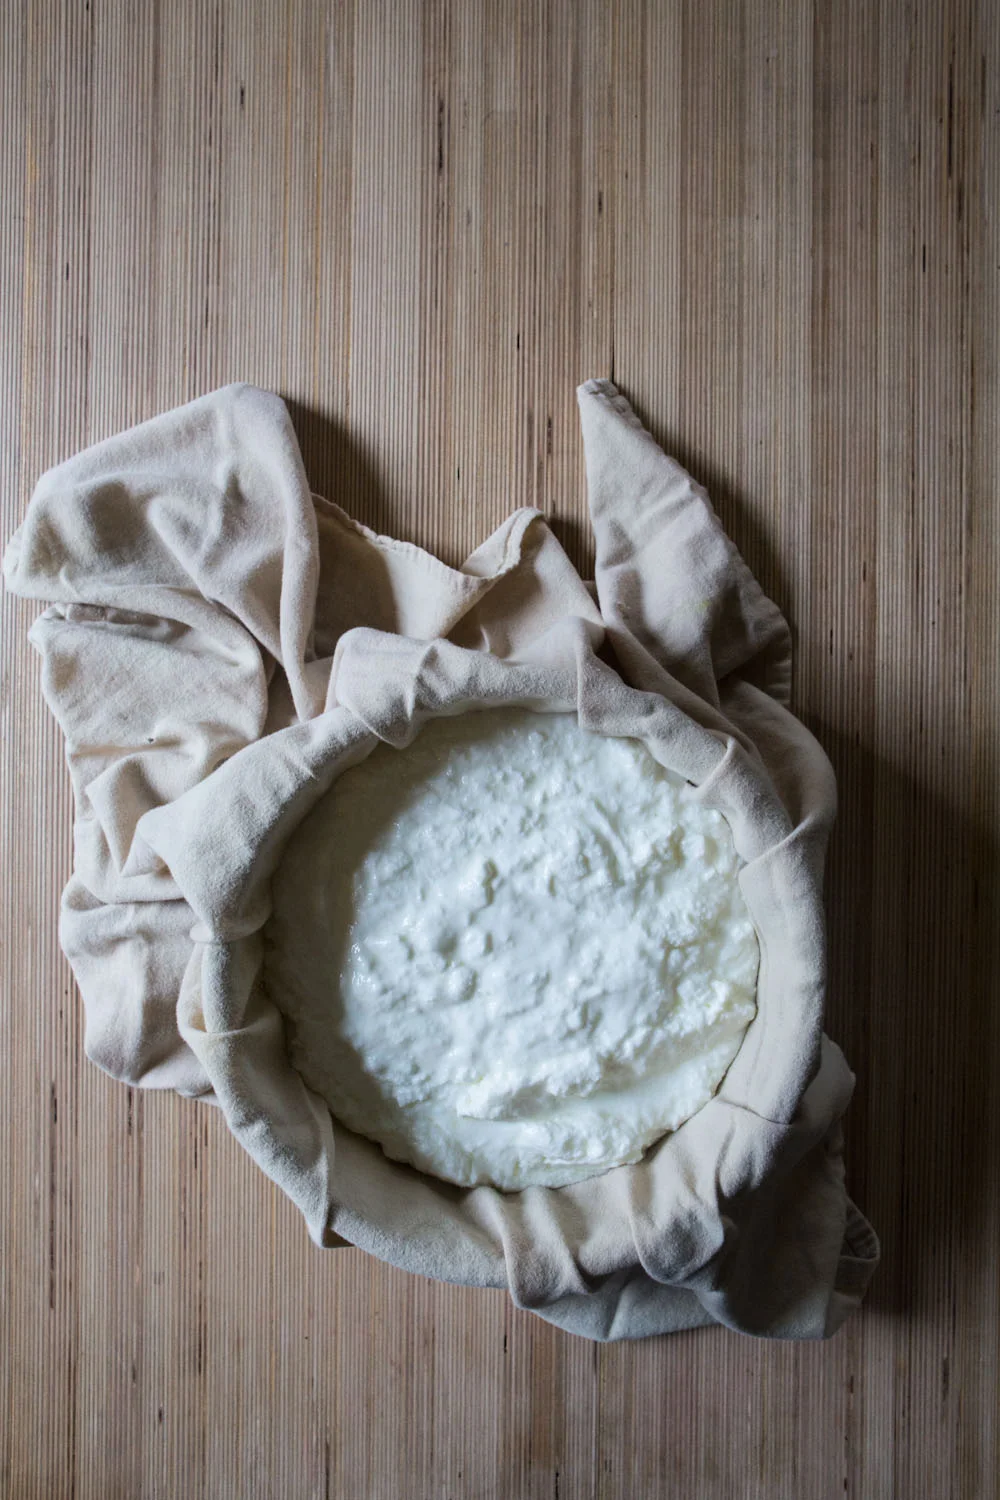
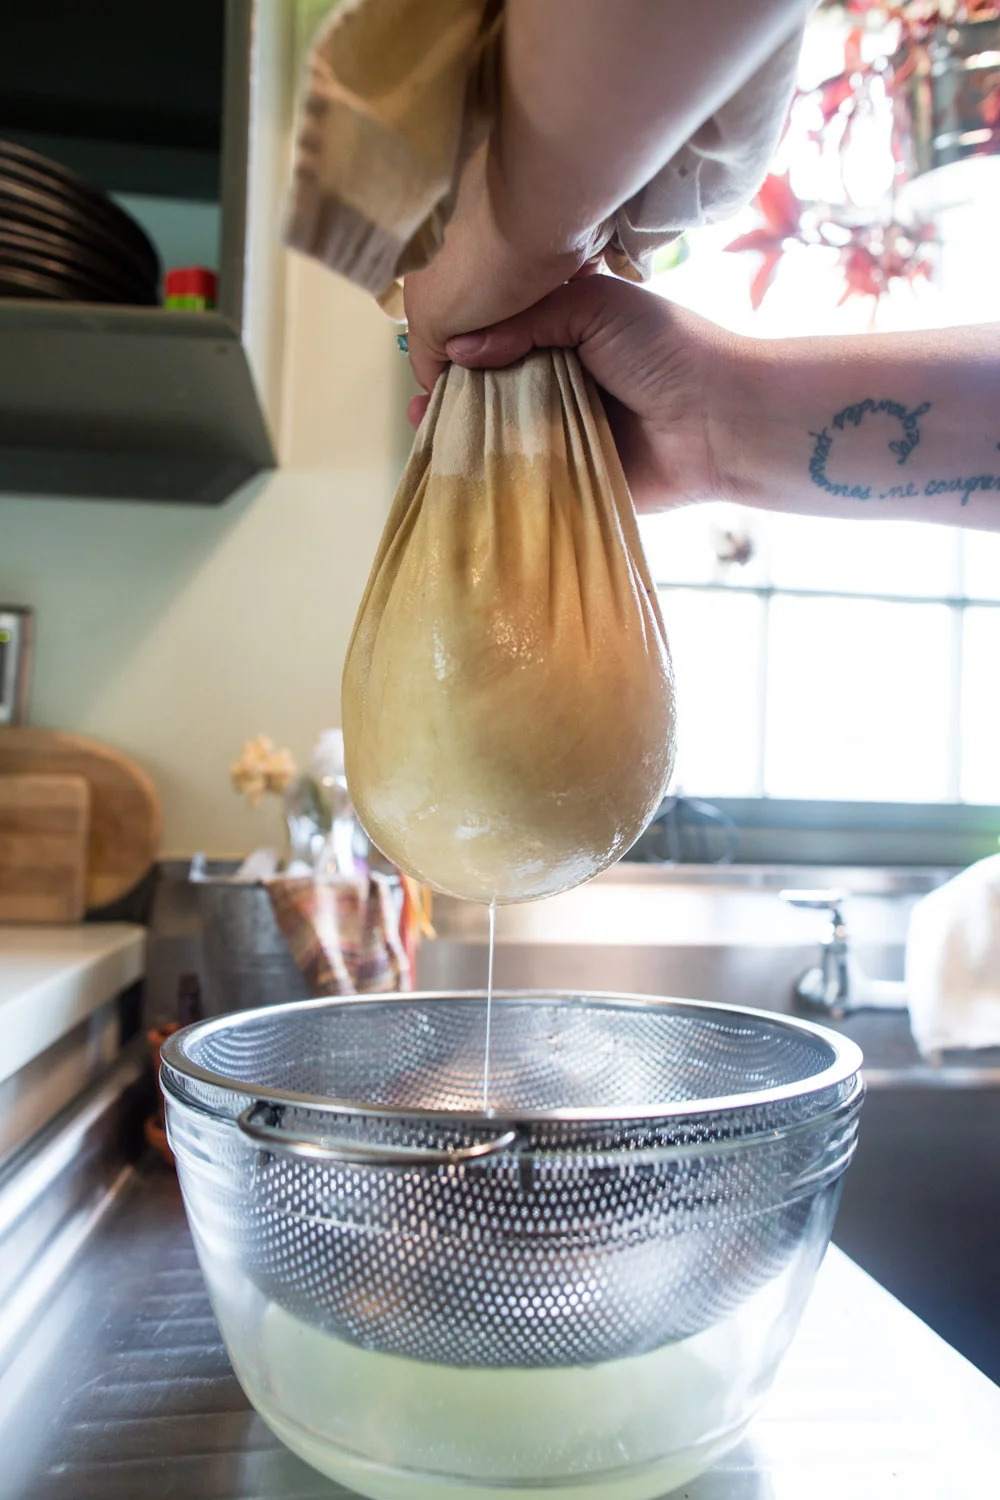
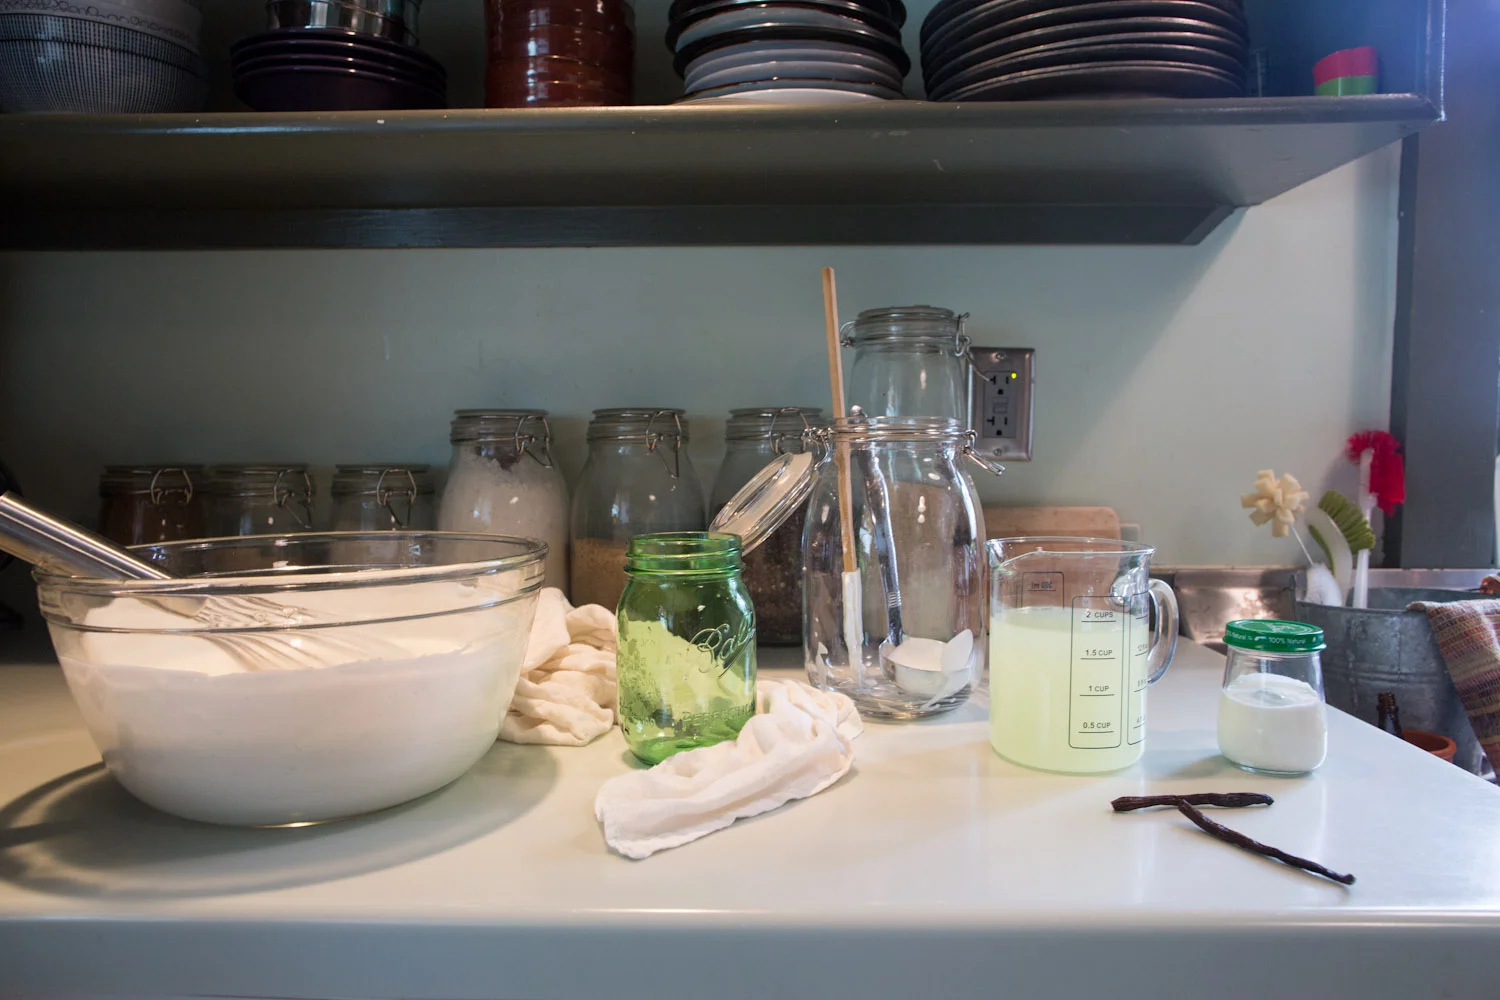
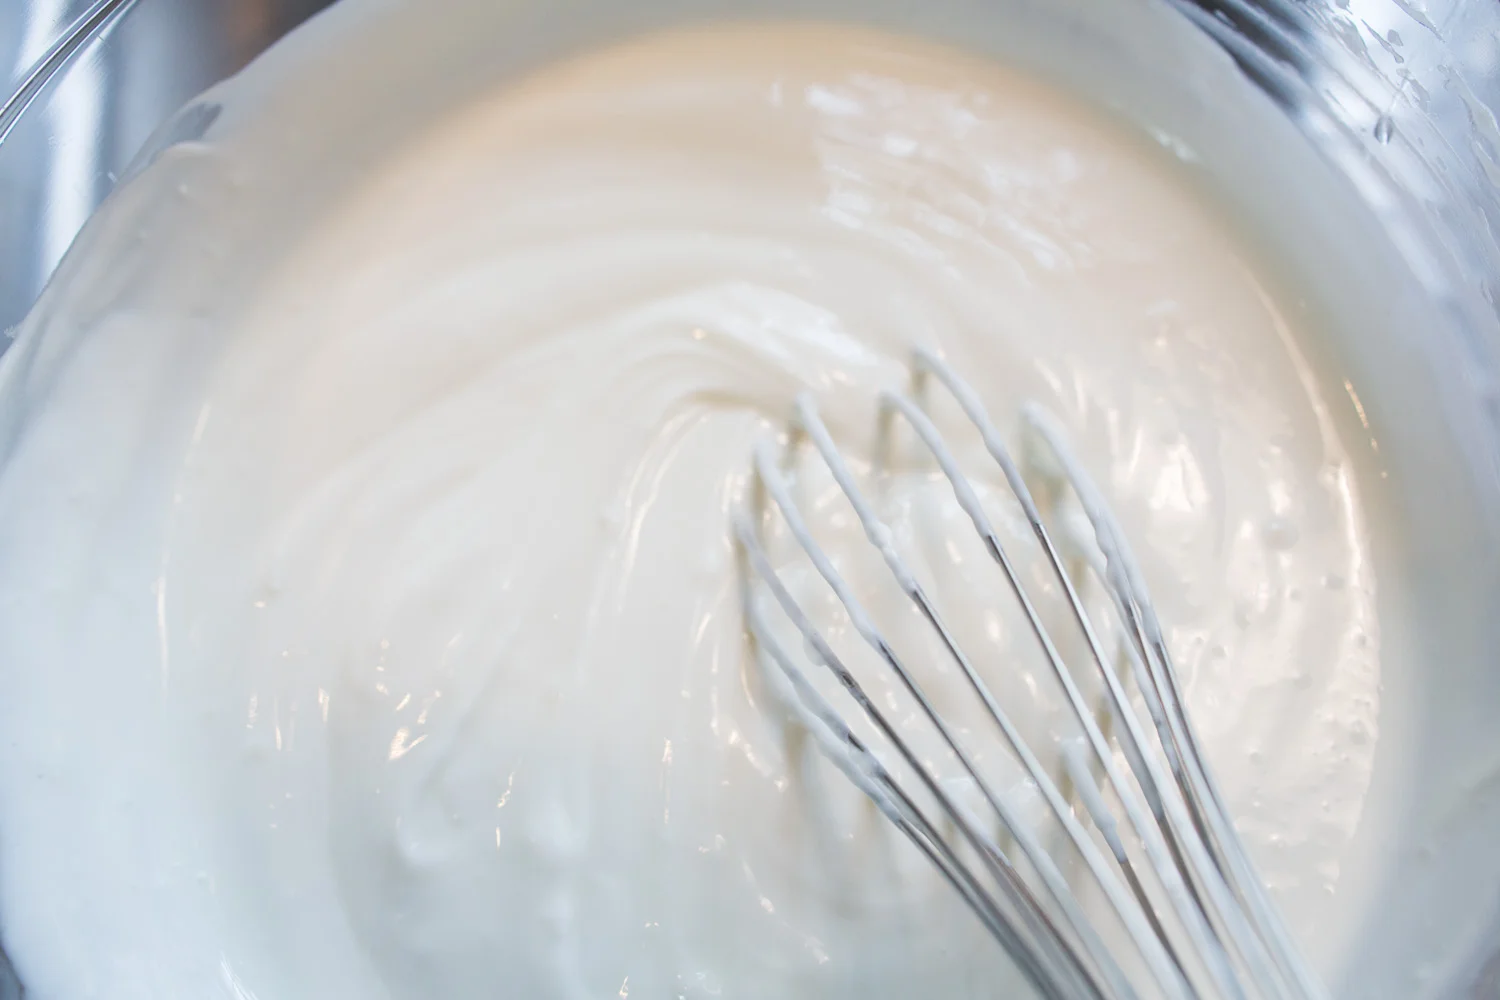
- strain the yogurt: if you like a runnier yogurt, you are finished! if you like a thicker greek style yogurt, place a colander over a big bowl, and use a cloth (flour sack dishcloth is good) to line the colander. pour the yogurt into the colander and allow the whey to drain into the bowl below. use a rubber spatula to gently scrape the sides of the cloth to allow the whey to strain through. pour the reserved whey into a measuring cup (use this for many things!) and scrape the yogurt from the colander/cloth into the bowl. use a whisk to achieve a creamy consistency.
- reserve some starter! before adding flavor, save a few tablespoons of your yogurt to make more!
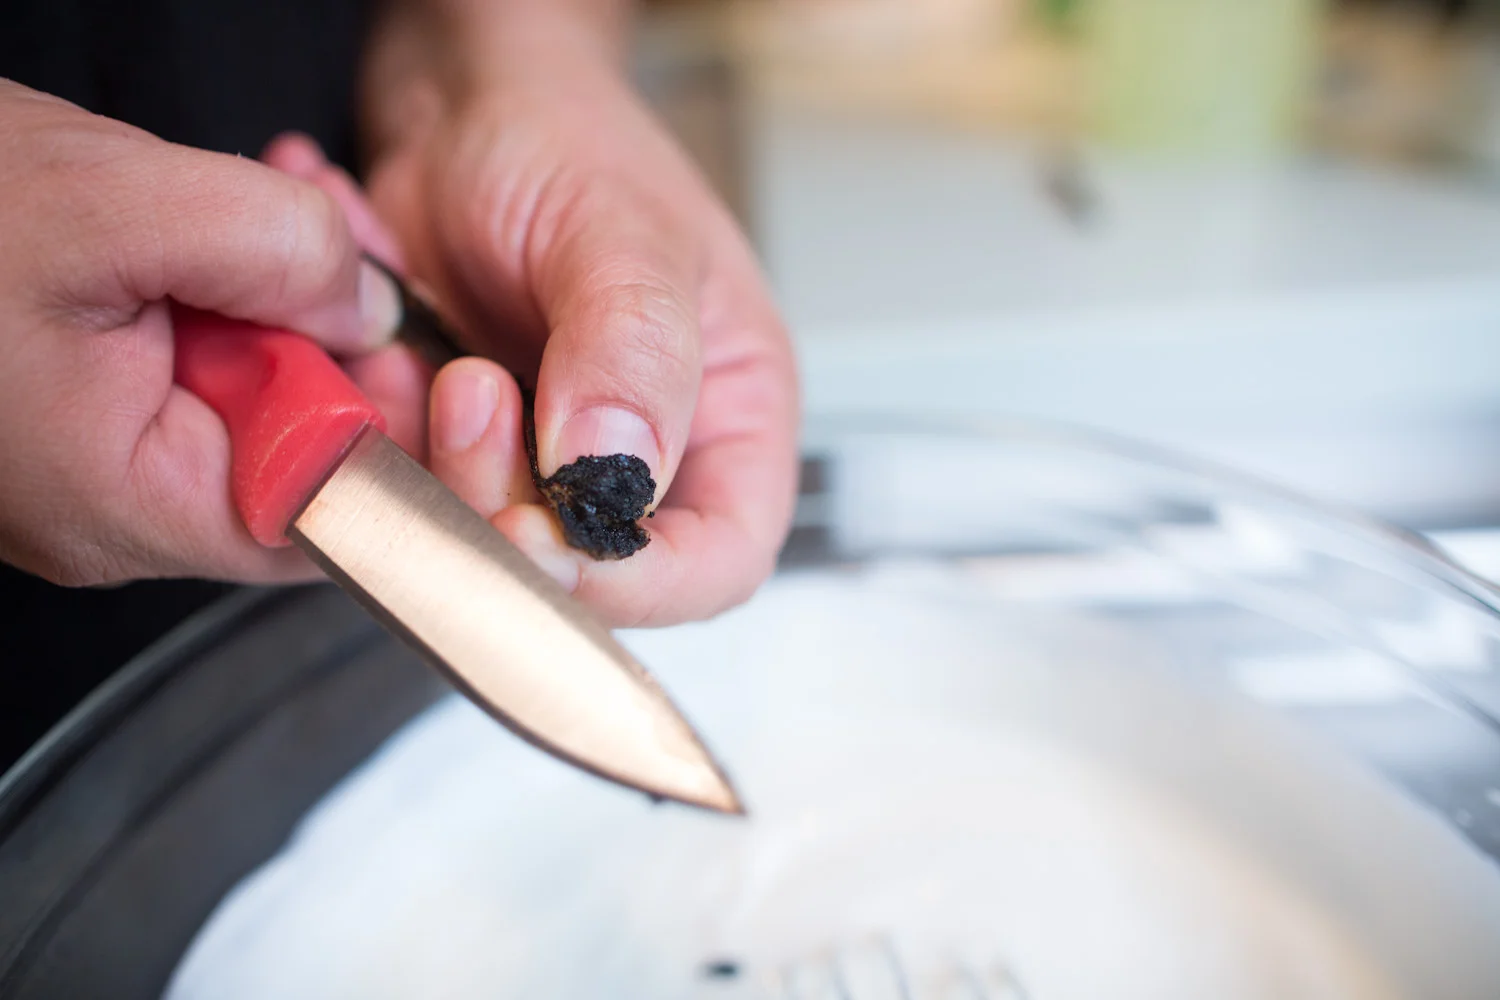
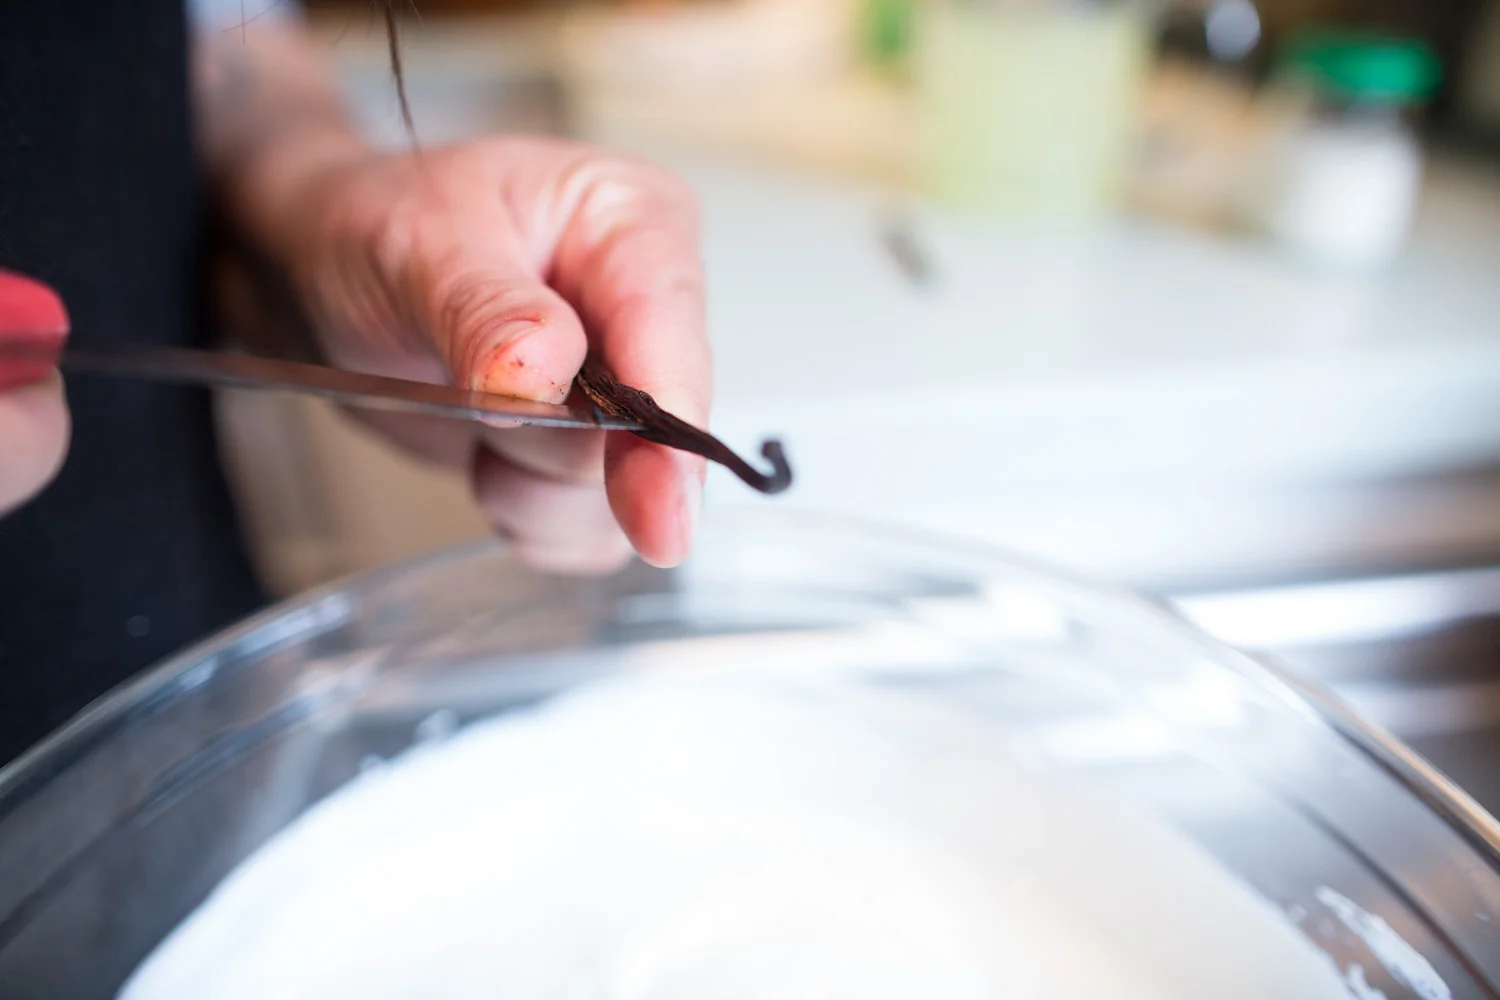
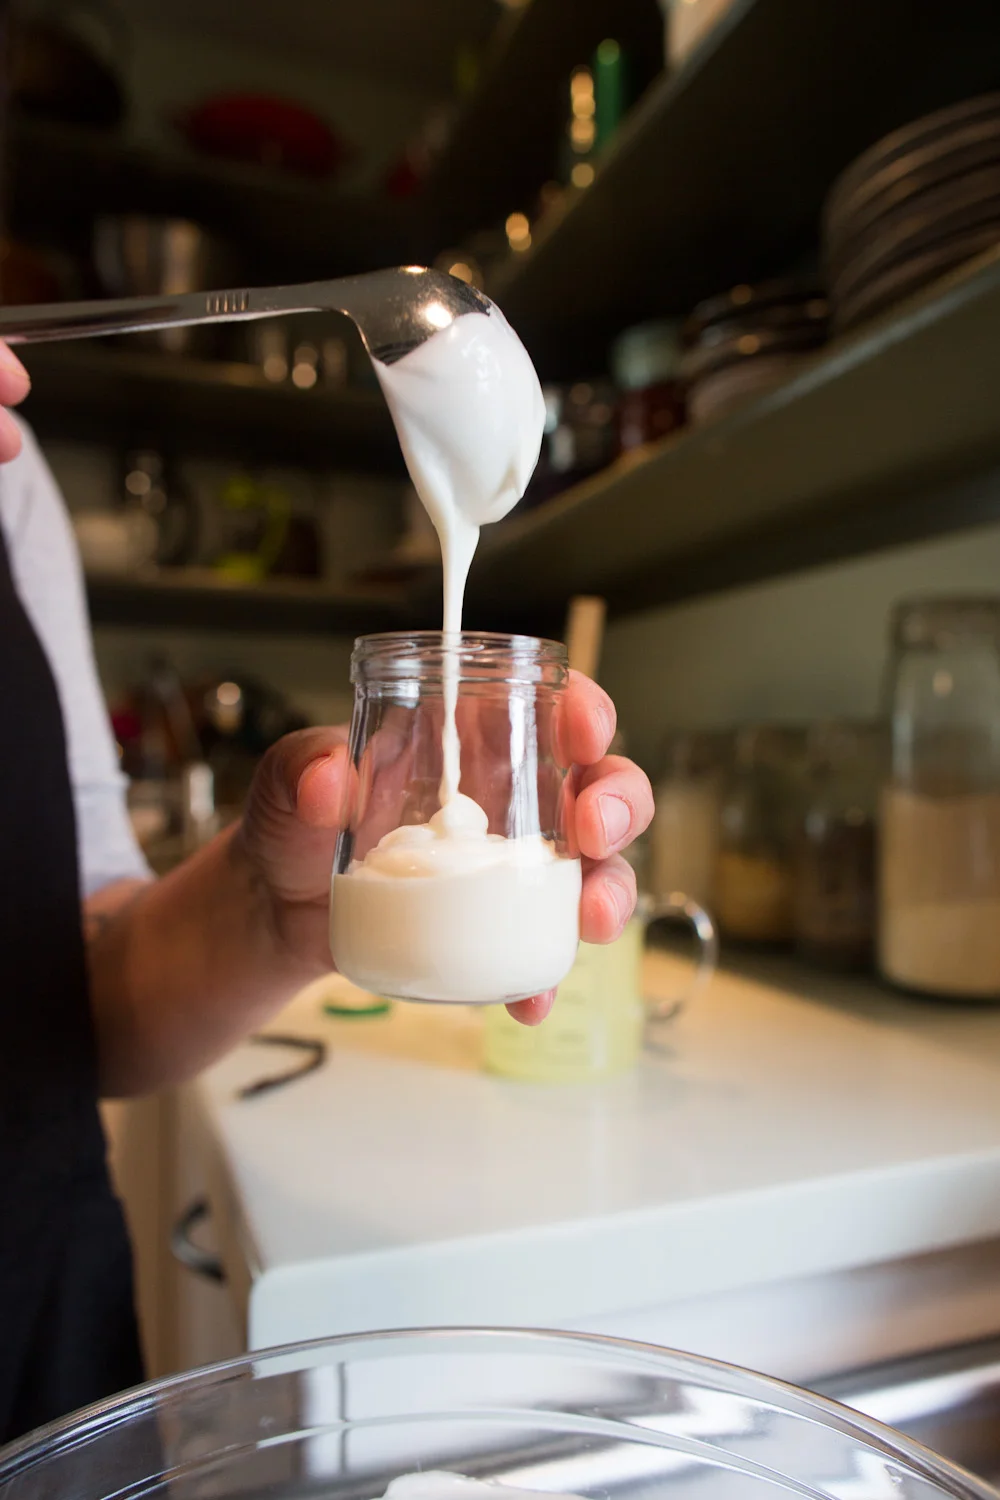
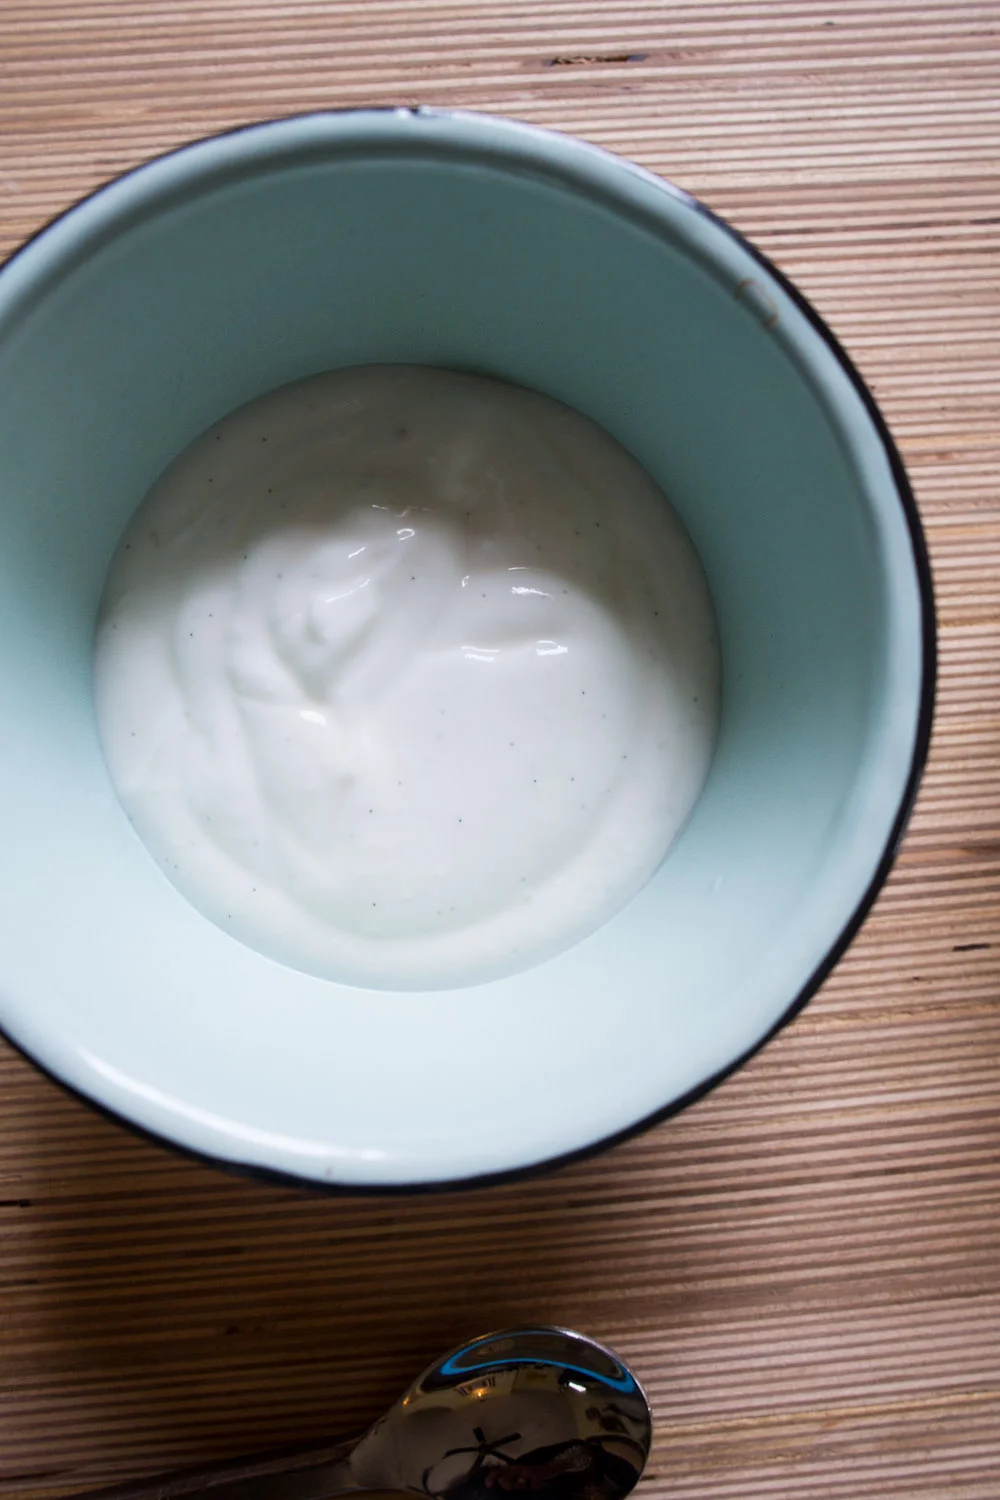
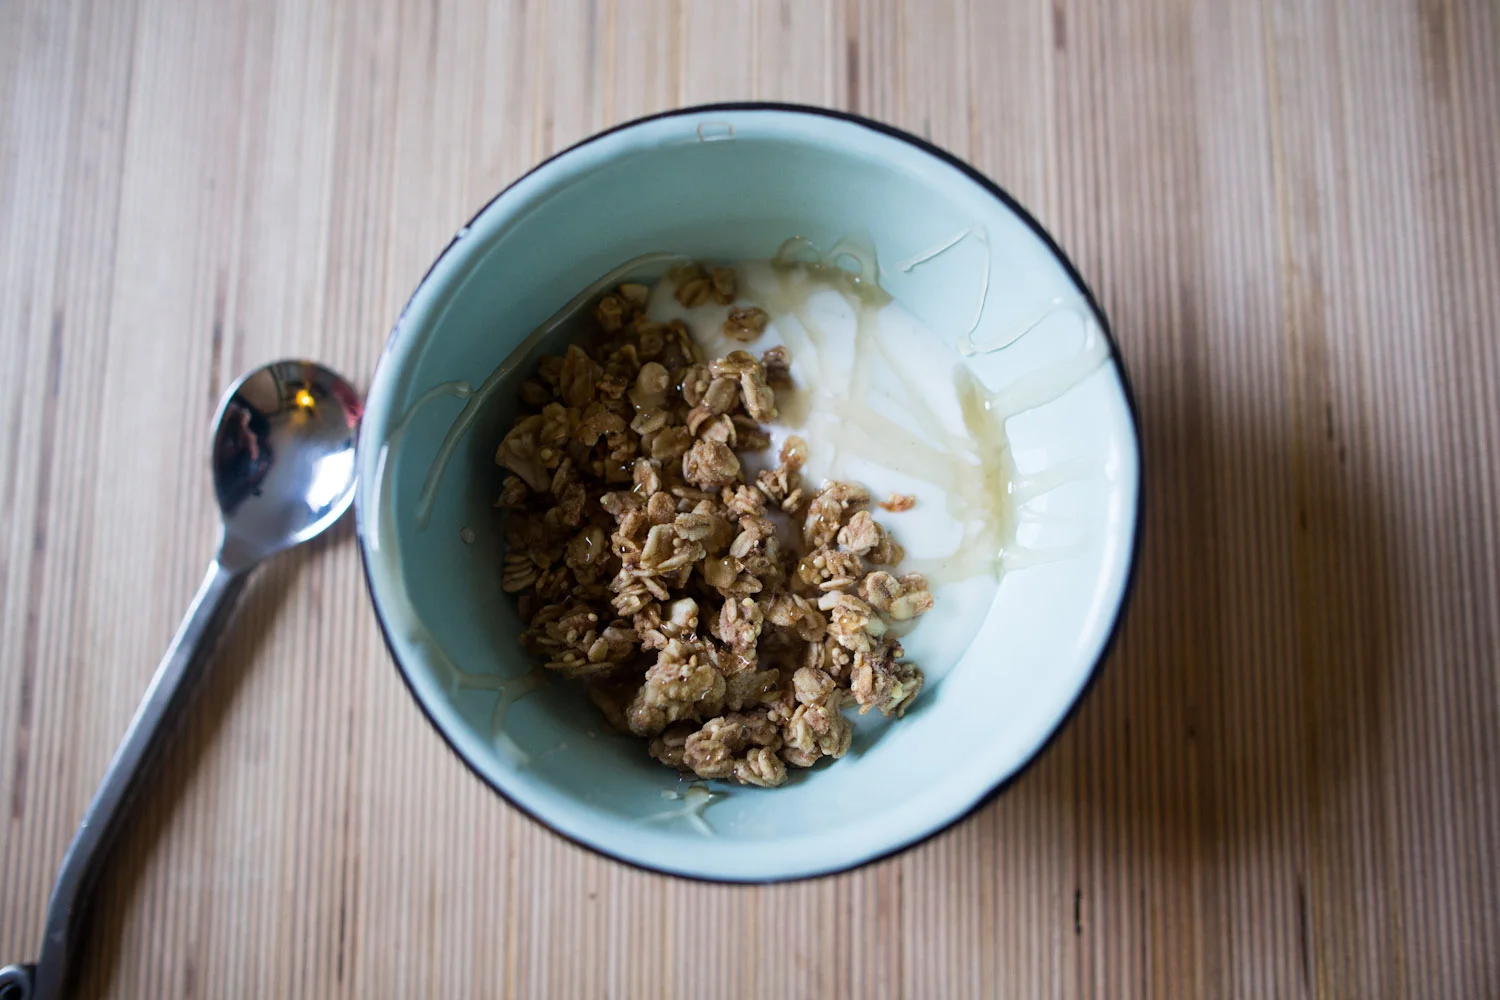
- at this point, you may add fresh vanilla bean for flavor or just leave it plain. ladle into a glass jar and store in refrigerator. yogurt lasts a LONG time and will just get tangier.
and,
a helpful side note from amanda:
to help understand how to time everything, here is how i do it:
5-7pm: heat milk / cool down / add starter
7pm: when milk is at proper temp and starter has been added, place in oven with light on for the night
7am: take yogurt out of oven and place in refrigerator
3pm (when i come home for the day): strain / flavor / bottle
* you'll end up with about 2 cups of whey after straining...
ways to use whey:
delicious indian street drink:
- pour your whey into a glass bottle, add some honey, a pinch of cardamom, and the juice from one lime. shake well and enjoy!
- or, you may use it to make lacto fermented ketchup
words and photographs by rinne allen, recipe by amanda kapousouz
photo by kristen bach
athens is full of artists, musicians, and creative types of all sorts, that's what makes our city so magical. for the past 6 years; michael oliveri from MOS has been organizing a show at the bulldog inn called the bulldog inn annual biannual.
the bulldog inn is a mid century motel located on the outskirts of athens. you can rent it by the night, week, and even hour. the bulldog inn art show rents out the motel for one evening and fills each room with a different artist, collective, installation. performer, projection, or whatever. the show in it's entirety is completely insane. i think that much of the beauty of it is that the only rule is that you return your room to it's original condition.
it has become an event that brings artists of all kinds together and really shows how colorful our city is. while photographs cannot even begin to do justice, here are some that captured a bit of this year's event. until next year.....bulldog inn.